How to Replace Baseboards: A Complete Step-by-Step Guide
How to Replace Baseboards: A Complete Step-by-Step Guide
Replacing baseboards is one of the most effective and affordable ways to refresh the look of a room. Whether you’re upgrading to a more modern style or your existing baseboards are damaged or outdated, learning how to replace baseboards can be a rewarding DIY home improvement project. In this guide, we’ll walk you through everything you need to know—from preparation to installation and finishing touches.
Why Replace Baseboards?
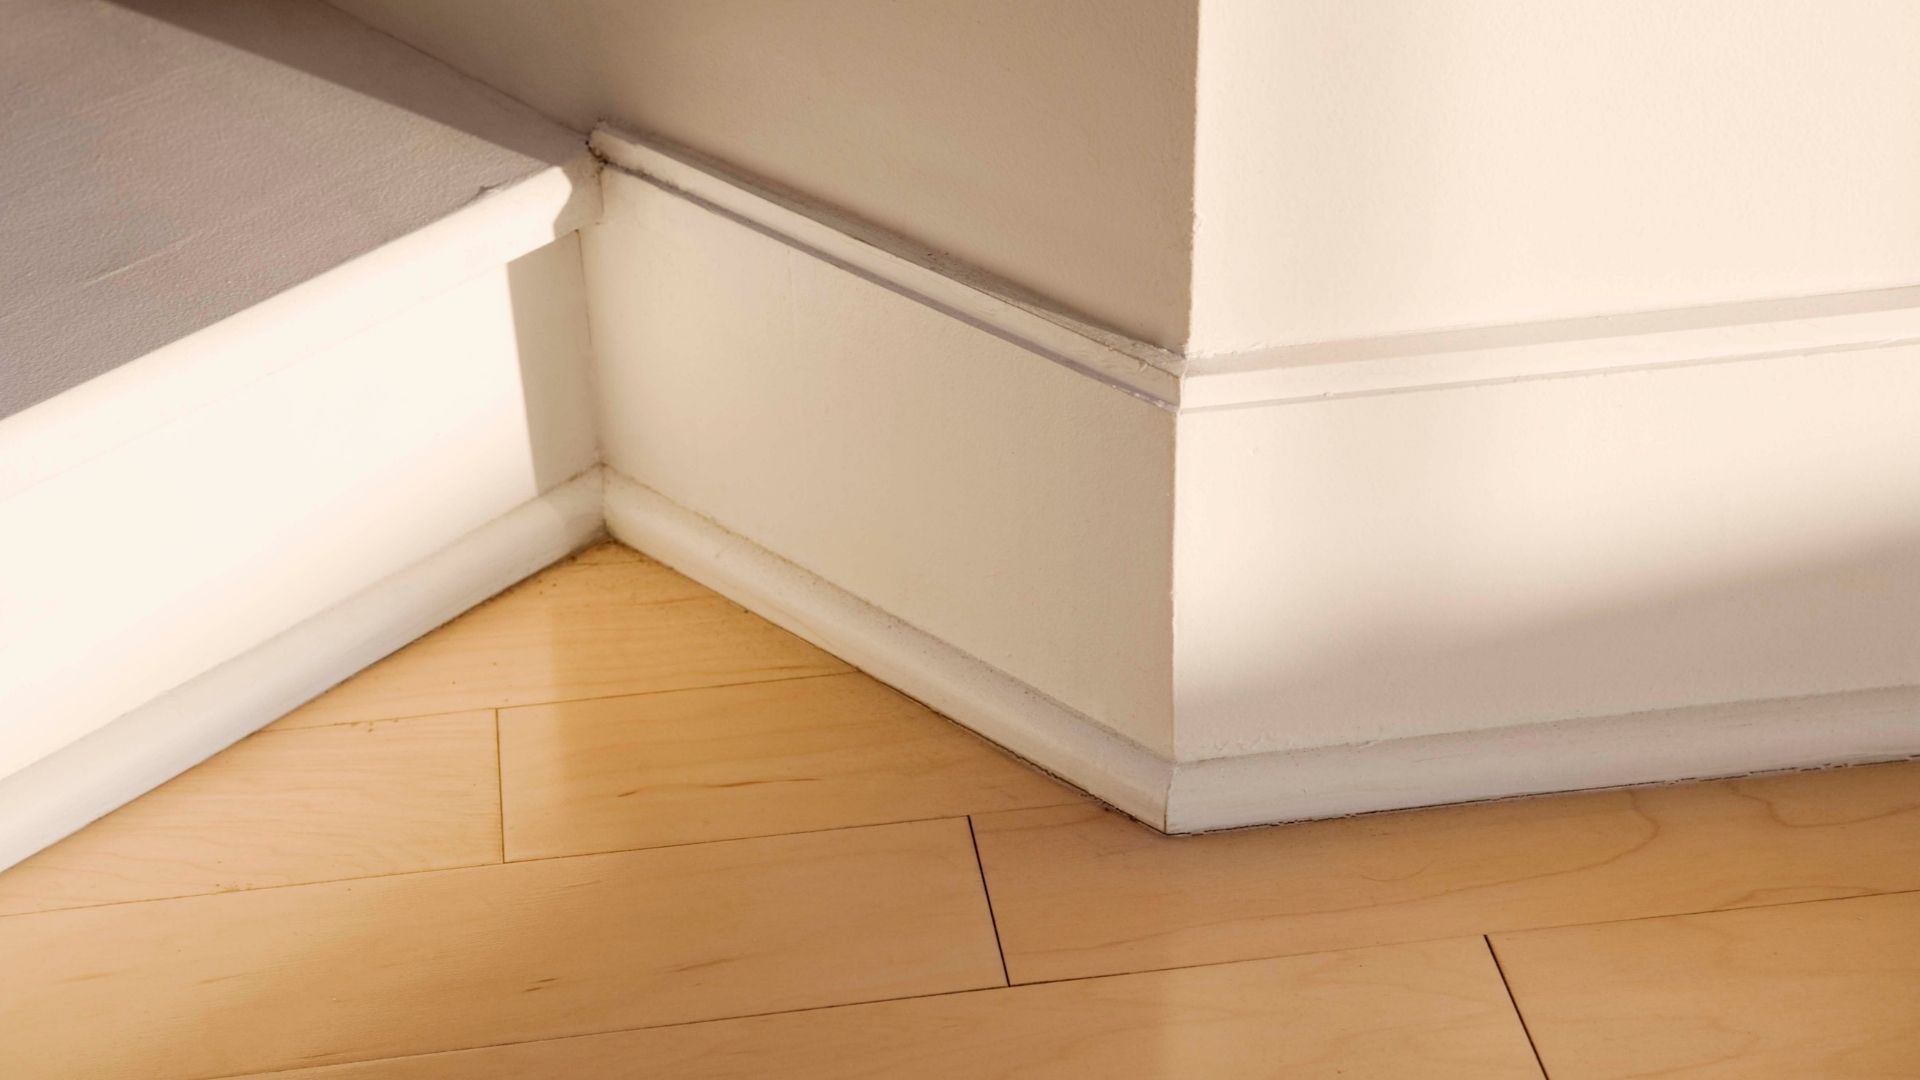
Baseboards serve both functional and aesthetic purposes. They protect walls from scuffs and moisture while adding a clean finish where the wall meets the floor. Over time, baseboards can become worn, cracked, or outdated. Replacing them not only enhances the room’s visual appeal but can also help seal gaps that let in drafts or pests.
Tools and Materials Needed
Before you begin, gather the necessary tools and materials:
- Pry bar or trim puller
- Utility knife
- Hammer or nail gun
- Finish nails
- Measuring tape
- Miter saw or hand saw
- Caulk and caulking gun
- Wood filler
- Paint or stain (if needed)
- New baseboards
Step 1: Remove the Old Baseboards
Start by cutting the paint seal where the baseboard meets the wall using a utility knife. This prevents tearing the drywall when you remove the trim. Use a trim puller or pry bar to gently lift the baseboard away from the wall. Work slowly to avoid damaging the wall. If the baseboard was nailed in, you may also need to remove any leftover nails from the wall or baseboard pieces.
Step 2: Measure and Cut New Baseboards
Measure each wall carefully, accounting for inside and outside corners. Use a miter saw to cut 45-degree angles for corners, which helps create a clean, professional look when the boards are joined. Always double-check measurements before cutting to avoid mistakes and wasted material.
Pro tip: If you’re working with irregular wall lengths or corners, consider cutting slightly longer and trimming down as needed for a snug fit.
Step 3: Test Fit the Baseboards
Before securing the boards, place them against the wall to ensure a proper fit. Make any adjustments to your cuts before moving on. This dry fitting process helps avoid surprises and ensures that all corners align cleanly.
Step 4: Attach the Baseboards
Once the boards are correctly measured and cut, it’s time to attach them. Apply construction adhesive to the back of the board for extra hold if desired, then secure the baseboard to the wall using finish nails or a nail gun. Place nails at studs (typically every 16 inches apart) to ensure a firm hold. Be sure the top of the baseboard is level and flush against the wall.
Step 5: Fill Gaps and Nail Holes
After installation, you’ll likely see small gaps between the baseboard and wall or floor, especially in older homes. Use caulk to fill these gaps for a seamless appearance. For nail holes or minor dings in the wood, apply wood filler and smooth it out with a putty knife. Allow both caulk and filler to dry completely before sanding lightly to create a smooth surface.
Step 6: Paint or Stain the Baseboards
Now that the baseboards are installed and prepped, it’s time to paint or stain. Use a paint that matches your wall trim or room style. Semi-gloss or satin finishes are common choices because they’re durable and easy to clean. Apply painter’s tape to the wall and floor to protect against accidental drips or smudges, then use a high-quality brush to apply even coats.
If staining, ensure the surface is free from dust and apply the stain in the direction of the wood grain. Seal with a clear protective finish once the stain is dry.
Step 7: Final Touches
After painting or staining, remove any painter’s tape and clean up the workspace. Step back and inspect the baseboards for any imperfections or areas that need touch-up. Clean your tools and store any leftover materials for future projects.
Tips for Success
- Label each piece if you’re working in multiple rooms to avoid confusion.
- Use corner blocks to avoid complex angle cuts.
- If the wall is uneven, use caulk to mask minor gaps.
- Prime baseboards before installation if you’re painting them later.
When to Hire a Professional
While replacing baseboards is a manageable DIY project, there are times when hiring a professional might be the better option. If your walls or floors are significantly uneven, or if you’re dealing with expensive hardwood materials, a skilled carpenter can ensure a clean, precise finish. Additionally, large-scale projects or baseboard replacement throughout the entire house can be time-consuming without the right tools and experience.
Conclusion
Learning how to replace baseboards is a great skill for any homeowner. It’s a relatively simple update that can drastically improve the appearance of any room. With the right tools, a bit of patience, and attention to detail, you can achieve a polished, professional result. Whether you’re preparing your home for sale or just upgrading your style, new baseboards offer both visual appeal and functional value. Start with one room, gain confidence, and soon you’ll be ready to tackle your entire home!
Related Posts

Closet Organization Hacks: Smart Tips to Maximize Your Space